When your website has been approved and you click on the link in your confirmation email, or find the site in the A-Z Directory, you'll see something that looks a bit like this:

Demo Website Initial

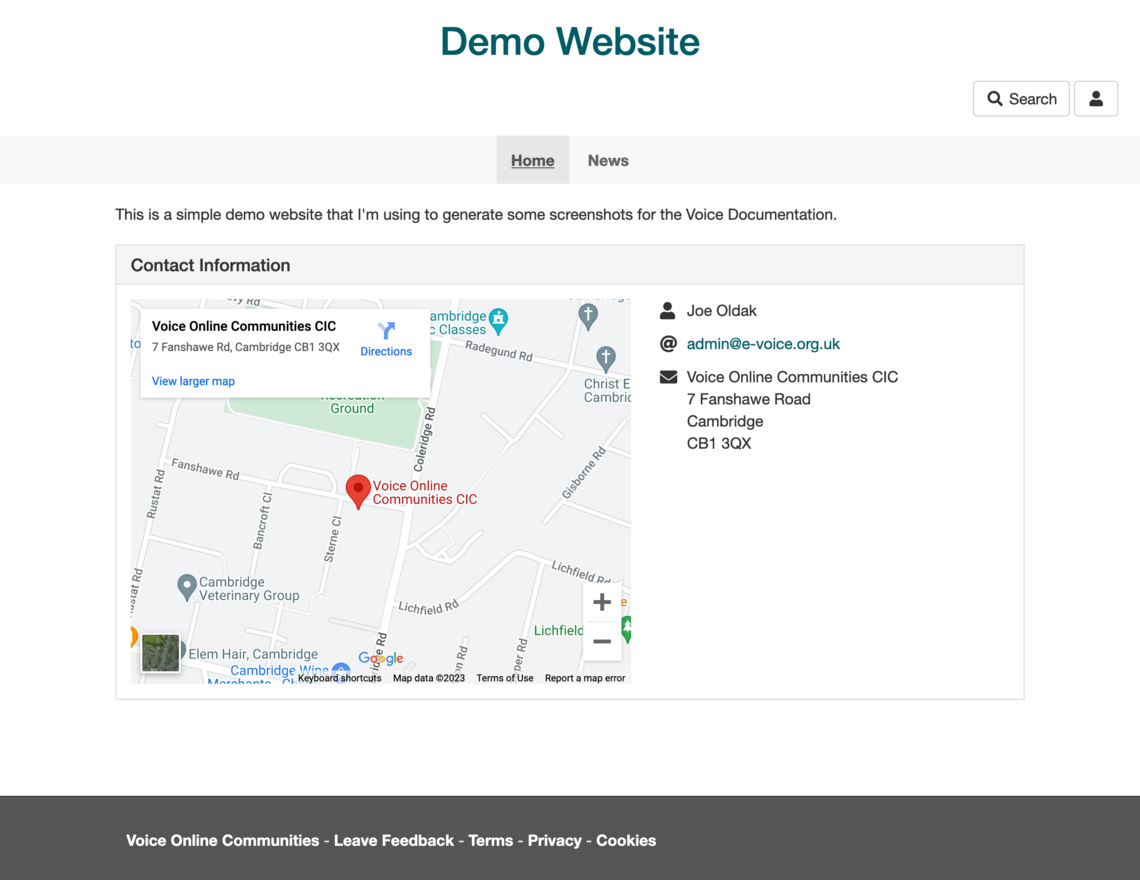
The site name, description, and location map are created using the information given on the application form.

An empty News section is added - you can add news stories in here, or remove it if you don't want it. More on this later in the helpsheet!


The following pages will take you through the basic setup of your site. You don't need to do all the steps, of course, just the bits that are appropriate for your group!


How to log in to the administration pages of your new Voice website.

It's easy to add a logo to your new Voice website. Here's how to do it...

How to change the colour scheme and layout of your Voice website.

How to add or edit the text on your Voice website's homepage.

Change or remove the location map, and contact information on your Voice website.

How to create a new page on your Voice website, such as 'About Us'.

Plain pages are a bit boring. Let's add a picture!

How to use the News folder on your new Voice website.

Voice has lots of pre-built applications, such as Photo Albums, Events Calendar, and Surveys.

How to reorder your website's navigation menu.