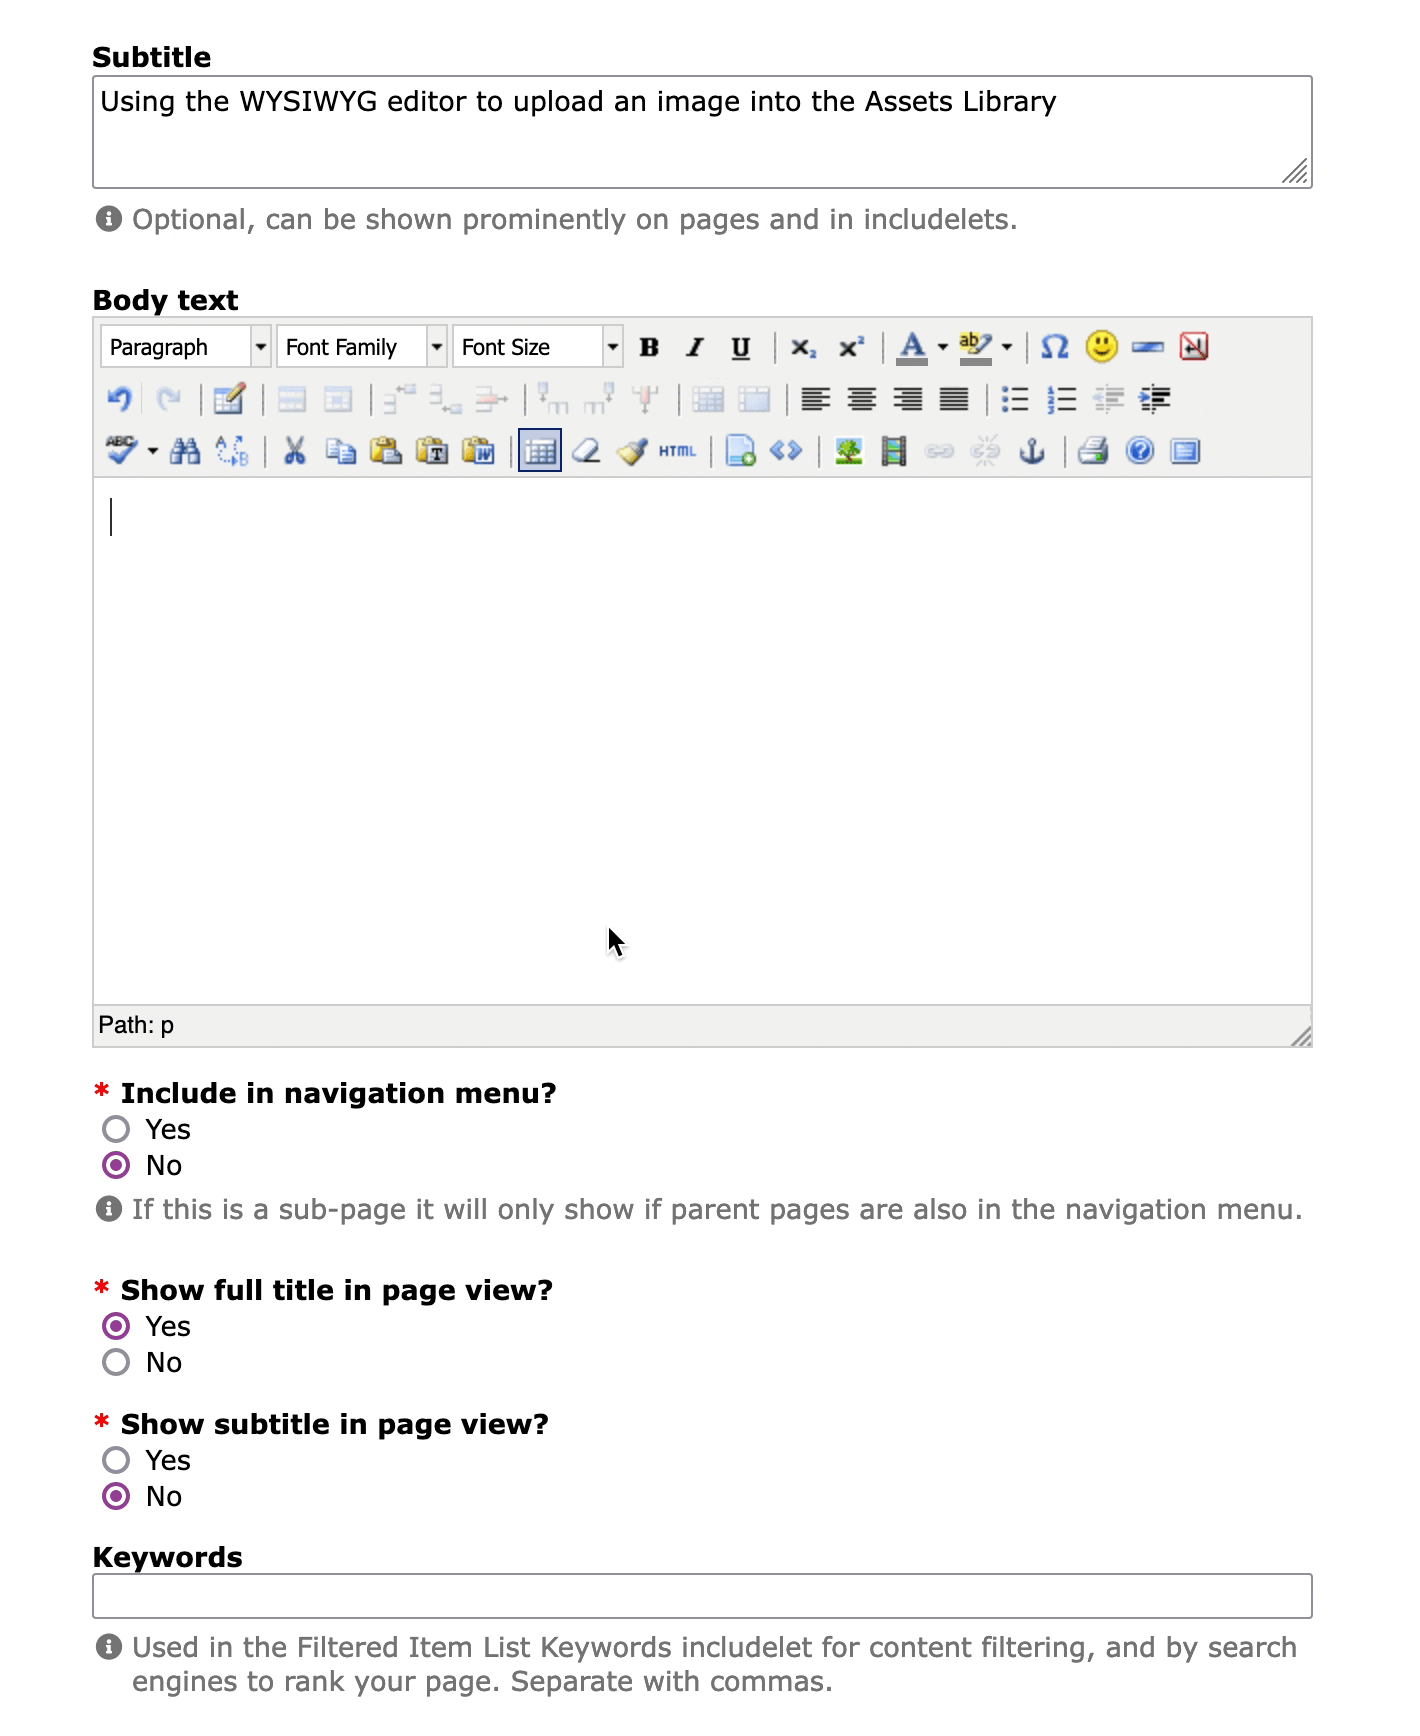
The Voice CMS provides a powerful WYSIWYG editor for modifying the pages and content within your website.
It is easy and intuitive to use and provides all the standard functionality you find in most word processors, including formatting tools, tables, and spell checking.
Using the Editor
Most of the functionality of the editor is accessed via the buttons in the toolbars. To find out what a specific button does hover your mouse over it and a helpful tooltip will be displayed.
You can change the size of the editor by dragging its bottom right corner. Alternatively if you would like the maximum space for editing you can click the Toggle Full Screen Mode button .
For authors with some HTML experience the bottom status bar of displays the HTML path of the element you are currently editing.
Much of the WYSIWYG is self explanatory - with simple buttons to alter text styles, such as bold and italic, creating lists, and checking spelling. The rest of this document explains some of the more advanced features of the editor.
Adding Media, and Links to Documents
Media such as images and documents must be added to you Assets Library before they can be added to a page. There are two ways to add content to the Assets Library. The first is documented on the Assets Library page, and the second is from within the WYSIWYG editor and is documented below.
There are three key ways to add media or links using the WYSIWYG editor:
- The Insert picture or file button
opens a dialogue box showing the Assets Library as an expandable tree of folders. Click on + next to a folder to open it, and click on an Asset to insert it. Images are inserted visibly on the page, and documents and other asset types are inserted as a link.
- The Insert/Edit image button
can be used to add images, with more control than the first method. Once you click this button a dialogue box opens showing lot of image options. Click the Browse button
next to the Image URL field and a second dialogue box opens showing the Images part of the Assets Library. As before, click + to open folders and click on an Asset to select it. This will fill in the URL and Description in the first dialogue box. You can then use the other tabs in here to change settings if necessary, before clicking Insert to add it to the document.
- If you want to add a link to an asset to some existing text or image, select the text/image in the editor and click the Insert/Edit Link button
. In the dialogue box click the Browse button
Note: the Insert/Edit Link button is unclickable until you select some text or an image in the editor. Once you select something, the button can then be clicked, and it converts what you selected into a link to the URL you supply.
Adding Media From Within the WYSIWYG Editor
If you have an image or document on your computer that you want to add to a page, you can add it into the Assets Library as documented on the Assets Library page, then insert it as described above. Or, as a shortcut, you can add the asset directly from within the WYSIWYG, like this...
- First, click on the Insert picture or file button
- Choose the type of asset you are adding - document/image/etc, which will select the appropriate part of the Assets Library to store your file.
- A form will appear. Click the Browse... button to find the file on your computer that you want to add.
- Give the file a
Paste From Word or Paste as Plain Text
Many authors use an external editor when creating their content and then when they are happy with it, paste it into the Voice WYSIWYG editor.
However, the formatting capabilities of an external editor and the WYSIWYG editor are often different and this can cause strange layout problems. This is especially true of the more feature rich editors such as Microsoft Word.
To help minimise these problems if you would like to paste some content that was created in word use the Paste From Word button 
This will attempt to fix the formatting so the content looks as good as possible. However, the conversion process is difficult and you will need to carefully review the resulting output for unwanted changes.
Similarly if you are pasting content from another editor and it appears badly formatted try using the Paste as Plain Text button 
This will attempt to remove formatting from the content which will give you a better starting position to get the page to look as you would like.
Other Useful Features
There are so many! Most buttons should be familiar to users of other word processing software - such as aligning left/centre/right, bold, italic, underline, creating lists, etc.
-
If you are familiar with HTML development you can edit the generated HTML for a page direct using the Edit HTML Source button
. This will take you out of the WYSIWYG mode of the editor and present the HTML for your page in raw form.
-
If the layout has gone a bit funky, especially as a result of pasting from another editor, there are a couple of tools that can help. First select the text that needs fixing, then try the Cleanup Messy Code button
which tries to fix HTML problems without changing the formatting. If this fails try the Remove Formatting button
which will attempt to strip the selected content back to plain text so you can try again with adding styles.
-
You can check the spelling with the Spell Checker button
. When this is enabled then any misspelled words are underlined in red. Clicking the word brings up some suggestions. Click the Spell Checker button again to turn it off.
-
Right clicking in the editor brings up a Context Menu which changes depending on whether you have text selected or not. You can use this to insert a link a the current location, or convert text into a link, etc.